Painting a sash window can be awkward and annoying. There are many pitfalls to avoid, and here we will help you avoid them. One of the most inconvenient things is a sash window that sticks, or otherwise does not open and close correctly. We will provide a comprehensive guide on painting sash windows the best way, to avoid any issues and create a fresh look.
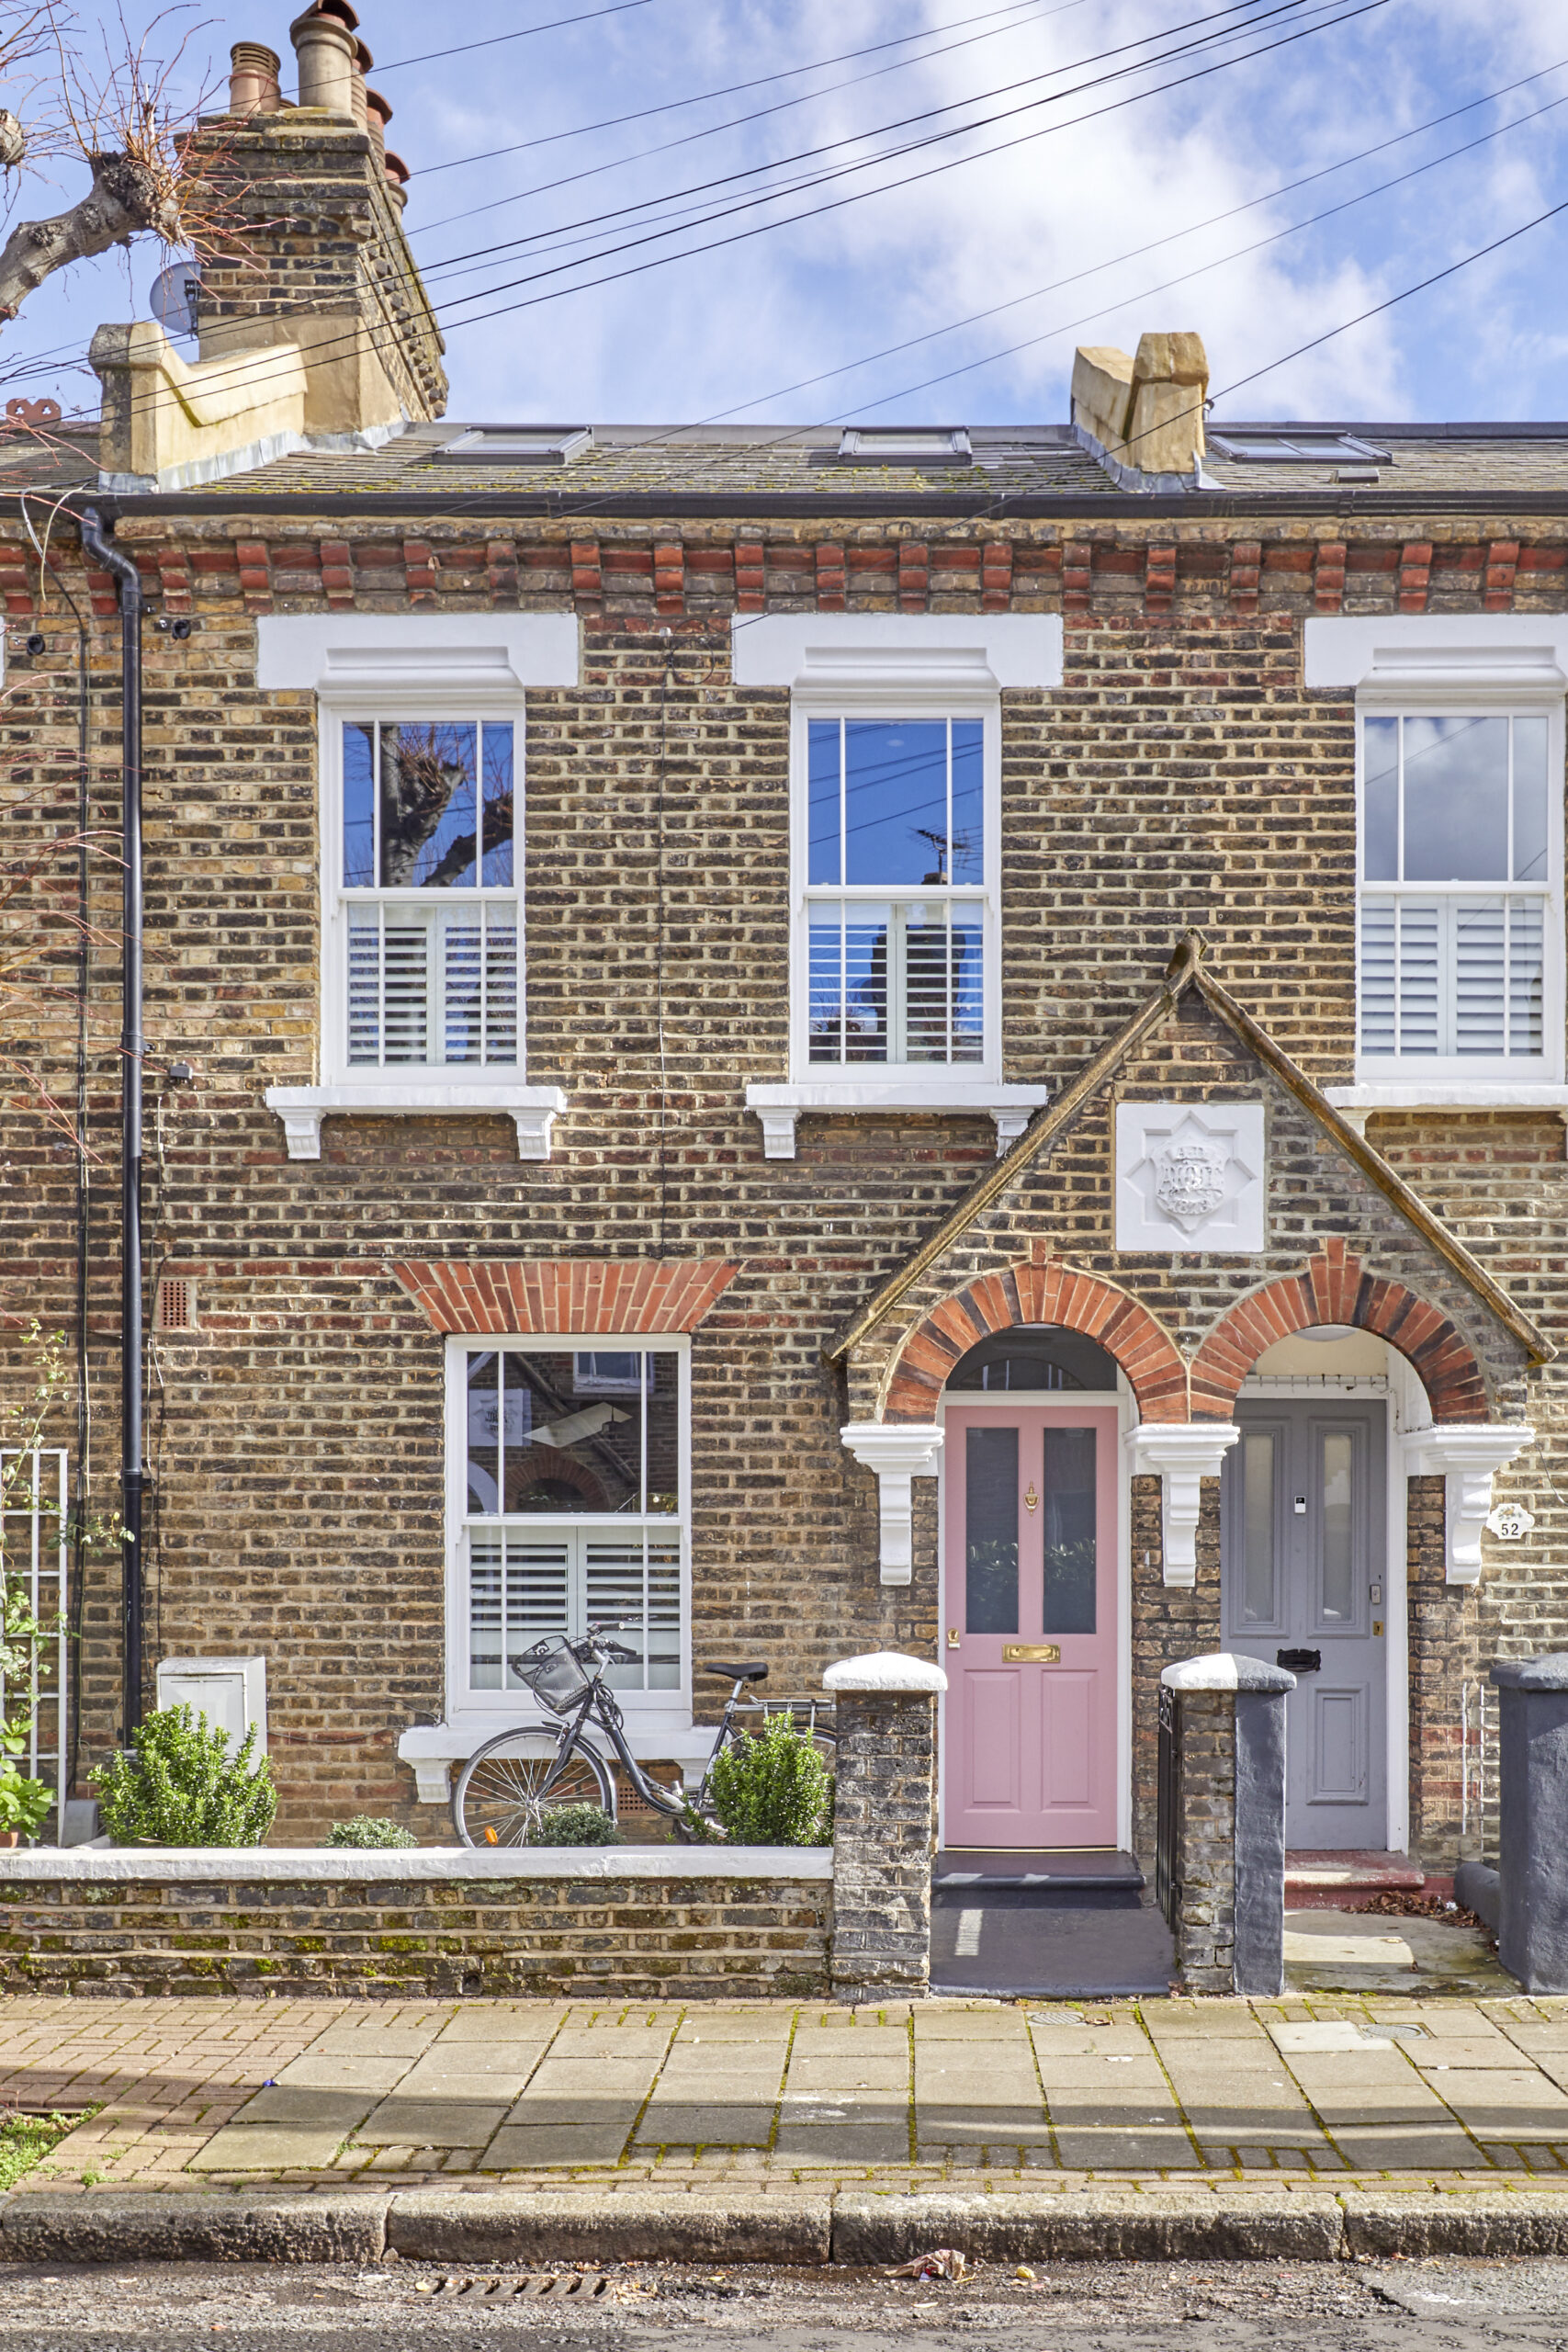
Different types of sash windows will require slightly different methods of painting, and some do not actually require painting at all. For example, wooden windows, such as timber sash windows may flake over time, whereas UPVC varieties do not – so painting may be unnecessary.
Sometimes removing the windows is a better option. If you would like to repair or replace your sash windows you can contact us for a free survey. We also invite you to browse our brochure for more ideas and inspiration.

Our guide on how to paint without sticking
There are a few important guidelines to remember before painting your sash windows. The first and most important is to prepare your space. Make sure to use a sheet or plastic covering for the floor, this will prevent any accidental drops of paint.
Sand the windows to remove any flaking paint. Removing the existing paint may be unnecessary if the window is already in good condition. Clean the area afterwards to avoid any dust getting into the paint. You should paint with short brush strokes and remove any handles or locks for a clean finish.
You must also run masking tape along the outside edge of the windows. This will ensure the walls remain free of any paint. It is also simple to remove once the painting is complete.
Push the lower section of the sash to the top and paint this initially. This will enable you to access all parts of the frame.
Remember the following when painting or repainting for the best results:
1. Paint the mullions
The thin central strip of the window is a good place to start. We call this part of the window the mullion. It is the smaller and more intricate part of the window, so it is good to do these first.
It is easier to paint from the top down. Do each side of the mullions individually, and then apply a coat of paint to the middle. This will ensure a smooth and even layer.
2. Paint the frame
The frame of the lower section of the sash, which will be in the upper position at this point, is next to paint. With it up in the higher position, paint the surfaces evenly. You can use larger strokes at this point but continue to use smooth sweeping motions and only a small amount of paint. Too much will make the frame stick.
3. Do the rebate
The top section of the window frame, where you will eventually push up the sash to close the window, is what we call the rebate. Paint this next, but do not push the sash up. It is not desirable to have any paint surfaces touching until everything is dry.
4. Repeat on the lower sash
The sash that is now in the lower position is now ready to paint. Follow the same steps as when painting the other sash. Paint the mullions and the frame in the same way, but do not change the position of each sash to do so. This will ensure you are still able to access all areas of the window.
5. Paint the frame casing and outer edges
Now that the actual window part is complete, you are ready to paint the rest of the outer edges of the frame. This is where masking tape is beneficial as it will prevent any paint getting on the walls. You can use broader strokes here as the casing is less intricate than other parts of the window.
6. Finish the cill
With almost all of the window complete with an even layer of paint, you can now paint the cill. This is important to do last as it is possible you will lean or sit on the cill while painting. Apply an even layer of paint on the cill using a sideways brush motion.
7. Dry and scrape
After the paint is dry, try moving the sash to make sure it moves slowly. Next use a scraper, or a razor blade, along the edges of the window panes to remove any paint that is on the surface of the glass. Be sure to scrape tightly against the mullions for a cleaner finish.
Additional tips
While the above guide will give you a look that is clean and sleek, there are a few tips to ensure a professional job. Here are some additional recommendations for painting your sash windows.
A common issue when repainting is sticking when opening and closing the window. It is worse when doing this because layers of paint may become quite thick. Be sure to use an even layer of paint on all parts of the window. Most important is to follow the correct painting order.
Once dry it is also a good idea to wash the window with a gentle soapy liquid or detergent. This will help with the sliding mechanism and also help remove any dirt that may land on the surfaces during painting.
Exterior painting can be more difficult than painting on the interior. Make sure to practice proper safety in these cases. In some instances painting the exterior may require scaffolding.
Do not concern yourself with getting paint on the glass! This is easily removable later using a chemical rub, scraper or razor blade.
Painting sash windows for the best finish
This guide will make painting sash windows simple and satisfying. We love sash windows for their look and functionality. Check out our Instagram for some great images and inspiration.
Sometimes people find that their windows are so old or have such significant damage that they require repair or replacement. This can be difficult for a person to do themselves, this is where our services come in handy.
We provide a swift installation that leaves us with a lot of very happy customers. You should get in touch with us today to discuss painting your sash windows in London using our expert service. You can also browse our brochure for some ideas.